Tuesday, 29 October 2013

Halloween Sign


Hey guys, I just wanted to share some of the crafts I have been doing over the Halloween Season. I am also going to share some of the festive crafts that my mom has done recently.

My mom created this sign. She adores Halloween and all the little monsters along with it. (Meaning her 4 dogs… yes 4!)The tutorial for this lovely, witchy, sign can be found under my tabs as SIGNAGE. It’s the same tutorial used for any of my signs. Also this piece of wood is an old cupboard door. Cupboard doors are great for signs; they give the sign a more vintage or even elegant look. 


Inspired by Brandy Melville


Hey Guys!

I’ve made some signs recently inspired by Brandy Melville!

** Under my SIGNAGE Tab there’s multiple tutorials explaining how to make your very own personalized signs!

Delicious Pumpkin Seeds Recipe


Are you wondering how to make some delicious pumpkin seeds that don’t exactly taste like pumpkin seeds? Then you must try my recipe!

Prep Time: 10 Minutes
Bake Time: 1 Hour
Total Time: 1 Hour and 10 Minutes

Ingredients:
Pumpkin seeds from an actual pumpkin
Olive Oil
Sea Salt & Pepper
Garlic Salt
Parmesan Cheese

Step 1: Preheat the oven to Bake 250 F. Usually you make pumpkin seeds while carving a pumpkin so use those seeds afterwards! Put these seeds into a strainer and rise until all the pumpkin guts have washed away. Dry seeds with a paper towel afterwards.

Step 2: Put the seeds into a bowl and add about a tablespoon of olive oil depending on how many seeds you have. Remember you don’t want the seeds to be too oily. Now you can add sea salt, pepper, garlic salt and parmesan cheese. Basically you add as much as you desire, just taste to test. I shredded my parmesan cheese up very finely and added about 3-4 tablespoons, again depending how many seeds you have.

Step 4: Put tinfoil on a cookie pan so that the seeds don’t stick. Spread the pumpkin seeds out on the cookie pan so they can cook evenly. Cook the seeds for 1 hour, tossing them every 15 minutes until they are golden brown. Cool the seeds before eating!

Enjoy! 

Crown Jar Bathroom Shelf


Hey guys! So this Crown Jar shelf is one of my most recent crafts that my boyfriend put together as a surprise for me. We decided to use this shelf in our tiny condo bathroom as a cute space to store our q-tips, cotton balls and flossing sticks. I’ve also seen these shelves used for toothbrushes, makeup brushes, hair ties, band aids ect.

Materials to build this Jar shelf:

Piece of Wood
Mason Jars (any type of jar works)
Hose Clamps
Regular Flat Screws
Screw Driver
Palm Sander
Hanging Hooks
Hammer

**You can purchase all of these tools and materials from Target, Wal-Mart or a Hardware Store.

Step 1: First gather all your materials, then sand down your piece of wood until it becomes a smooth surface. You can also use a wood stain or paint to match your bathroom décor accordingly.

Step 2: Once the surface is smooth and the paint is dry, use your flat screws and screw the hose clamps into the wood evenly depending on how many jars you’re placing on your wood. DON’T CLAMP THE HOSE CLAMPS YET!

Step 3: Once the hose clamps are screwed into the wood evenly, place your jars into the hose clamps and tighten the clamps up, making sure they’re snug and sturdy. Don’t forget to take the thin middle lid out of your jars, but leaving the treaded lid on so that you’re able to place items into the jars.

Step 4: Once the jars are on, we nailed some picture hooks onto the back of the wood and hung it in the bathroom. I was then able to start placing my bathroom essentials into the jars!

Hope you guys enjoyed! 

Diy Quoted Signage


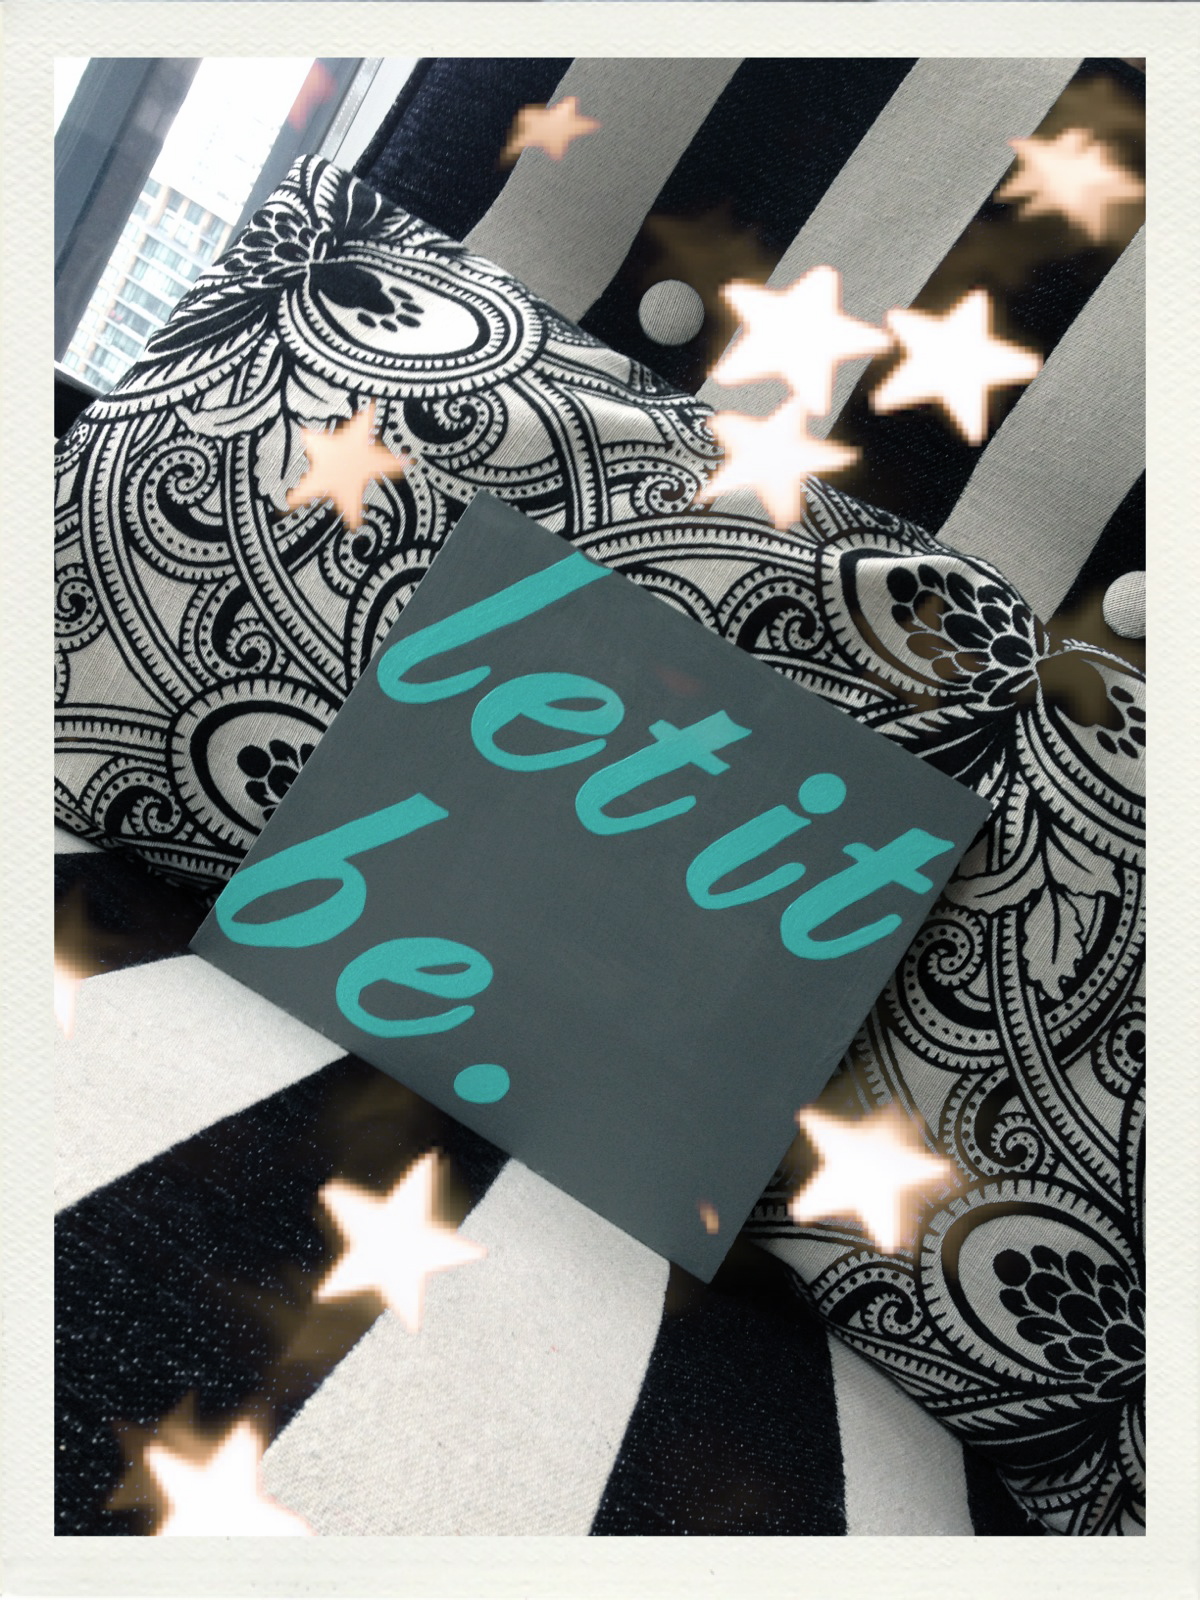
Recently I have made a couple new witty signs for my apartment and I’m continuing to do so. These signs are so easy to create and are a lot cheaper then purchasing them from a home and décor store.

The supplies you will need to create these lovely signs are the following:
Acrylic paint
Paintbrushes
Any piece of wood
Sponge Sander
Computer
Printer
Paper
Carbon Paper (Transfer Paper)
Varnish
Hanging Hooks

**You can purchase these supplies at Michael’s Craft Store, Staples, Home Hardware, & a Lumberyard.

Step 1: First choose a quote that you would like to paint and the piece of wood you want to paint the quote onto. Take your sponge sander and sand down all the edges of the wood to create a smooth surface to paint on.

Step 2: Once all the surfaces are smooth you can now choose your background color and do 2 to 3 coats of paint.

Step 3: Once the background color is dry, print out your quote. I usually use a font from Microsoft Word. Once you have the quote printed and lined up on your board take your transfer paper and place it underneath the piece of paper your quote is printed onto. Now take a pencil and trace over the quote, the carbon paper will allow the quote to transfer onto the piece of wood.

Step 4: Once the quote is transferred onto the board you can now paint the quote. Just use a skinny paintbrush and paint within the lines. It’s really easy, just like coloring! Do 2 to 3 coats of paint onto the quote.

Step 5: Once the quote is completely painted and dried, take a large brush and some varnish and paint the entire board covering all edges. Do 2 coats of varnish. The varnish seals the paint into the board and gives the sign a shiny look.

Step 6: Once the varnish is completely dried, your sign is completed! You can now nail in some hanging hooks to the back of your sign, and hang your lovely quote.

BONUS: Use Q-tips and water to fix any mistakes when painting within the lines of the quote.

 Enjoy Guys! 

Tuesday, 29 January 2013

Valentines Day Banner


I decided to decorate my condo for Valentines Day. I didn’t want it to look too cheesy, so I just made a simple heart banner. I cut out enough hearts that I was able to place heart banners in a few places. The banner looks very pretty strung across the fireplace mantel, bed headboard, windows or walkways.

The items you will need to create this cute heart banner are:
Red and pink construction paper
Brown Twinge (String)
Red Sparkles
Scissors
Glue

**These items can be purchased at Michael’s or any craft store.

Step 1: Cut as many red and pink hearts out of the construction paper as you want. You can than use the glue and sparkles and decorate the hearts as you wish. I put sparkles on every other red heart, and around the edges.

Step 2: Once all your hearts are cut out and glittered, use the scissors and string to poke holes through each heart. Then string the twinge through each hole and your valentine’s heart banner will be completed. You can now place it anywhere you’d like.

Hope this was an easy and fun Valentines Day project! 

Sunday, 23 December 2012

Easy Signage and Wall Decor

Hey Guys!

These are the crafts that I have been doing over the Christmas holidays. Majority of these crafts are signs, which I made for Christmas presents and for holiday decorating. All of these signs consist of the same steps just different fonts and paint colors.

Items you’ll need:
Board/Piece of wood
Paint/Woodstain
Paintbrush
Sander
Varnish
Hammer
Hanging hooks

Step 1: Find a piece of wood that you would like to paint a quote onto. Now sand the board down until the surface and edges are smooth.

Step 2: Paint or stain the background of your sign. Choose a color or stain that will best fit the theme of your quote.

Step 3: Once the background paint has completely dried, it’s quote time. First you need to print out a quote, I use Microsoft word to design quotes at the exact font and size that I wish. Once the font is printed out, tape the paper with the quote printed onto, and place it where you would like it to be painted on your sign. Now use transfer paper that can be bought at any craft store, and put the transfer paper under the quote.  Use a pencil to trace the quote, the transfer paper allows the quote to transfer onto the sign! Once the quote is on, use a thin paintbrush and start painting on the quote. Usually do 2-3 coats of paint until the quote looks bold. 

Step 4: Once your quote is painted and dried, paint or spray varnish your sign. The varnish seals the paint onto the board and gives the sign a shiny look. 

Step 5: Lastly, use a hammer and nail some hanging hooks onto the back of your sign.

Thanks guys, hope enjoy making your own signs!