Showing posts with label Signage. Show all posts

Friday, 7 March 2014

Home Decor Pieces - Spring Decor is Coming!


Hello, Hello,

Its now March and I can feel the spring approaching and I’m getting so excited to start some spring/Easter décor. So far I have a few crafts planned out and I can’t wait to get them started. I have recently popped into HomeSense and checked out all their pretty spring décor, its looking lovely, lots of pretty pastels and bright whites. I picked up a small perfume tray for only 12 bucks and it matches my makeup table perfectly. I also wanted to post some more signs that my mom and I have made and sold.

Happy Friday!

If you want a custom sign made you can always message me! 


Wednesday, 26 February 2014

Signs 4 Sale!


Hey guys,

Check out some of the cool signs and décor my mom and I have been working on. We have sold a few signs already and are continuing to work steadily on the requested wedding décor. Again guys, if you want something made by us just email me! Esty coming soon!


Wedding Table Numbers

Friday, 3 January 2014

Easy Gift Signage


Hi Beauties,

I hoped everyone had a fantastic Christmas and a wonderful New Year! I also hope that everyone was able to spend majority of their holidays with family and friends. I for one had an amazing Christmas with my family, and was able to do majority of the crafts that I wanted to do in a short period of time. That being said, I have some signs that I painted over the holidays that my family absolutely loved and now I’m going to share them with you.


Here are the signs I painted for some of my family members. The tutorial for these signs are the exact same as my pervious sign tutorials. Click HERE for the tutorial.


Sunday, 22 December 2013

Holiday Signage


Over the past few weeks my mom and I have been making numerous festive signs. They look great over fire mantels; hung on the wall, placed on your counter top against your backsplash or they make excellent Christmas presents.
These signs are really easy to do but can be a little time consuming.

Items you’ll need to make these Holiday Signs:
Piece of wood
Paintbrushes
Acrylic Paint
Carbon Paper
Print Shop OR Microsoft Word
Palm Sander
Picture Hanging Set
Pencil


**All these items can be purchased at a lumberyard and a dollar store.

Step 1: Sand down your piece of wood to a nice smooth surface. Now take your paintbrush and paint the entire sign your background color. Let the wood sit to dry for about 30 minutes.

Step 2: Use Microsoft Word or Print Shop to print your quote. Print shop allows you to put your board’s measurements in allowing you to print a perfect printout of your quote. 

Step 3: Now place your printed out quote onto your board and tape the top edges onto the wood. Place the carbon paper underneath the quote pattern. Take a pencil and trace over the quote. The carbon paper will allow the quote to transfer onto the piece of wood.

Step 4: With the outline quote now on your board its time to fill it in! Use a paintbrush and paint in your Christmas quote. Depending on the your fill color do 2-3 coats of paint until the quote looks bold. Use a clear varnish once your sign is completely finished and paint the entire sign with the varnish. The varnish seals the paint in and makes the sign look shiny.

Step 5: Use your picture hanging set to nail a hook and some nails into the back of your board allowing your quote to hang on the wall. Once the hook is attached to the board your sign is finished!

Happy Holidays Guys! 


Tuesday, 29 October 2013

Inspired by Brandy Melville


Hey Guys!

I’ve made some signs recently inspired by Brandy Melville!

** Under my SIGNAGE Tab there’s multiple tutorials explaining how to make your very own personalized signs!

Diy Quoted Signage


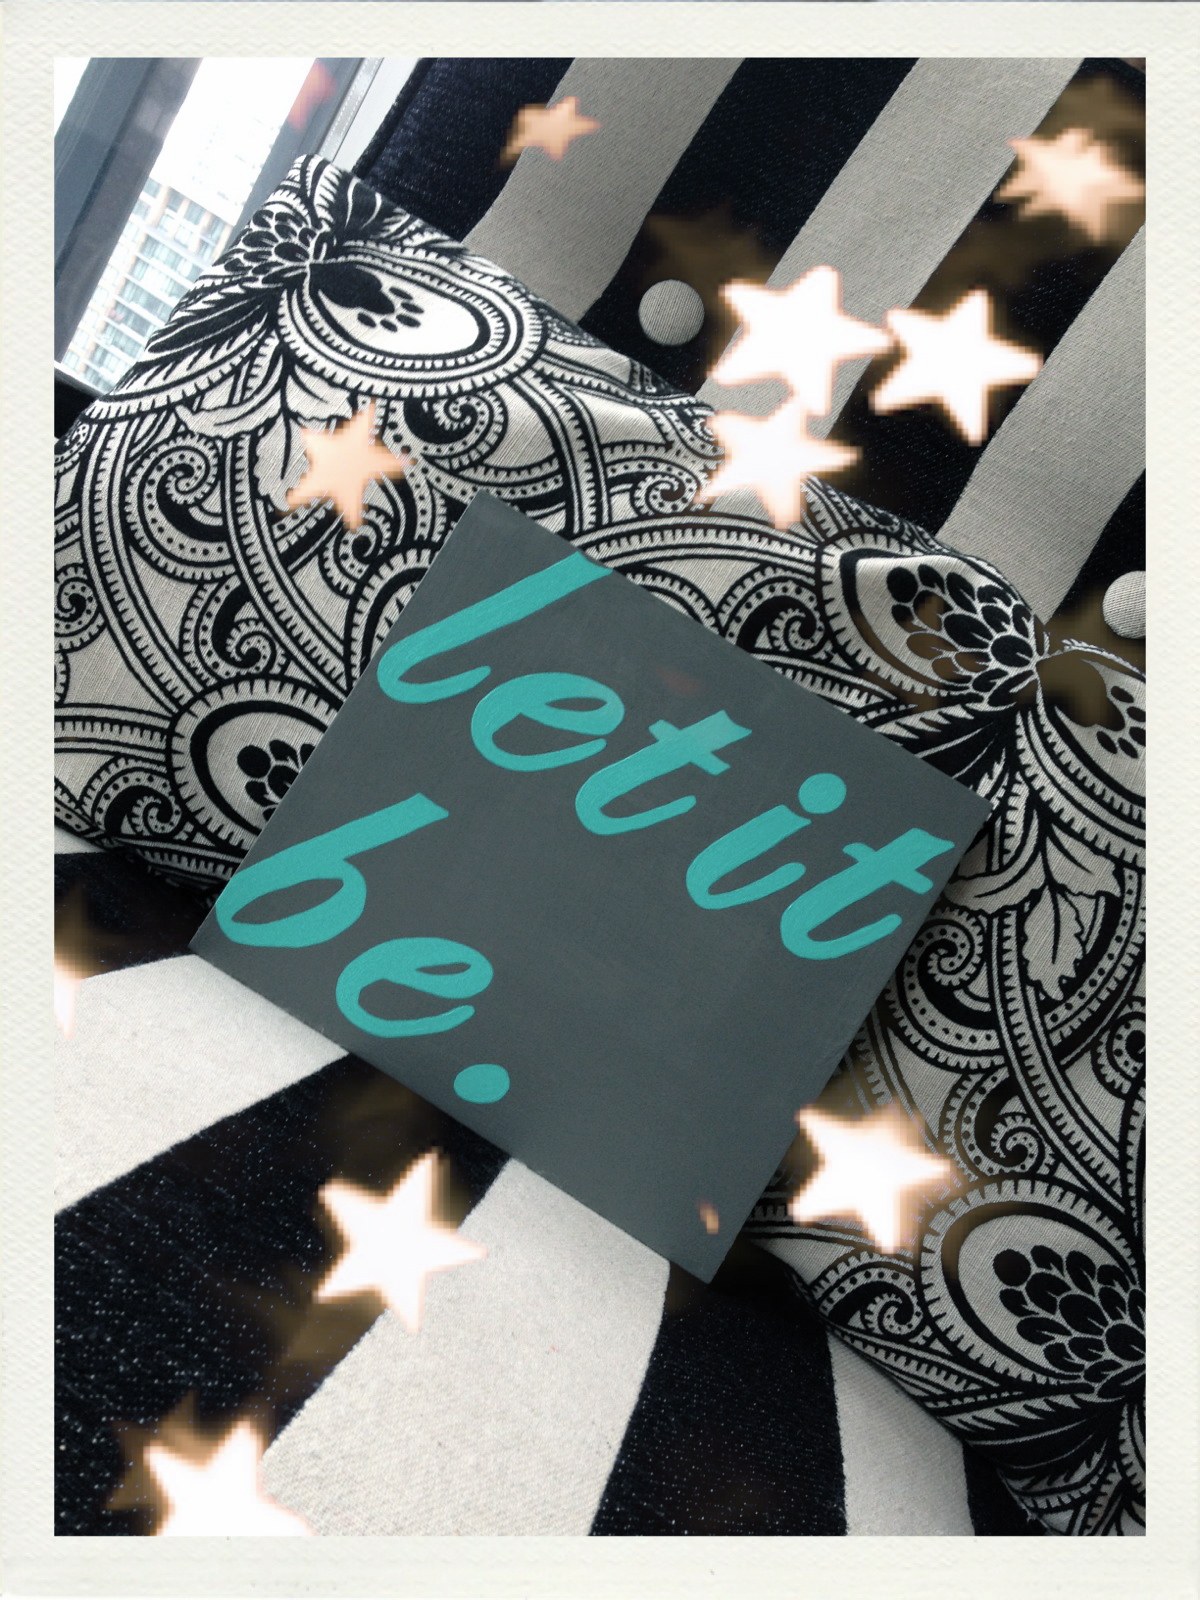
Recently I have made a couple new witty signs for my apartment and I’m continuing to do so. These signs are so easy to create and are a lot cheaper then purchasing them from a home and décor store.

The supplies you will need to create these lovely signs are the following:
Acrylic paint
Paintbrushes
Any piece of wood
Sponge Sander
Computer
Printer
Paper
Carbon Paper (Transfer Paper)
Varnish
Hanging Hooks

**You can purchase these supplies at Michael’s Craft Store, Staples, Home Hardware, & a Lumberyard.

Step 1: First choose a quote that you would like to paint and the piece of wood you want to paint the quote onto. Take your sponge sander and sand down all the edges of the wood to create a smooth surface to paint on.

Step 2: Once all the surfaces are smooth you can now choose your background color and do 2 to 3 coats of paint.

Step 3: Once the background color is dry, print out your quote. I usually use a font from Microsoft Word. Once you have the quote printed and lined up on your board take your transfer paper and place it underneath the piece of paper your quote is printed onto. Now take a pencil and trace over the quote, the carbon paper will allow the quote to transfer onto the piece of wood.

Step 4: Once the quote is transferred onto the board you can now paint the quote. Just use a skinny paintbrush and paint within the lines. It’s really easy, just like coloring! Do 2 to 3 coats of paint onto the quote.

Step 5: Once the quote is completely painted and dried, take a large brush and some varnish and paint the entire board covering all edges. Do 2 coats of varnish. The varnish seals the paint into the board and gives the sign a shiny look.

Step 6: Once the varnish is completely dried, your sign is completed! You can now nail in some hanging hooks to the back of your sign, and hang your lovely quote.

BONUS: Use Q-tips and water to fix any mistakes when painting within the lines of the quote.

 Enjoy Guys! 

Sunday, 23 December 2012

Easy Signage and Wall Decor

Hey Guys!

These are the crafts that I have been doing over the Christmas holidays. Majority of these crafts are signs, which I made for Christmas presents and for holiday decorating. All of these signs consist of the same steps just different fonts and paint colors.

Items you’ll need:
Board/Piece of wood
Paint/Woodstain
Paintbrush
Sander
Varnish
Hammer
Hanging hooks

Step 1: Find a piece of wood that you would like to paint a quote onto. Now sand the board down until the surface and edges are smooth.

Step 2: Paint or stain the background of your sign. Choose a color or stain that will best fit the theme of your quote.

Step 3: Once the background paint has completely dried, it’s quote time. First you need to print out a quote, I use Microsoft word to design quotes at the exact font and size that I wish. Once the font is printed out, tape the paper with the quote printed onto, and place it where you would like it to be painted on your sign. Now use transfer paper that can be bought at any craft store, and put the transfer paper under the quote.  Use a pencil to trace the quote, the transfer paper allows the quote to transfer onto the sign! Once the quote is on, use a thin paintbrush and start painting on the quote. Usually do 2-3 coats of paint until the quote looks bold. 

Step 4: Once your quote is painted and dried, paint or spray varnish your sign. The varnish seals the paint onto the board and gives the sign a shiny look. 

Step 5: Lastly, use a hammer and nail some hanging hooks onto the back of your sign.

Thanks guys, hope enjoy making your own signs! 


Friday, 19 October 2012

Crow Silhouette Painting


This week I wanted to make something spooky and festive for Halloween, but I also wanted to be able to use this piece all year long. So, I was looking on Pinterest and I seen a crow silhouette painting that I just had to have, so I decided to make it!

Items you will need to make the crow silhouette painting:
Thin piece of wood
Tracing paper
Transfer paper
 Pencil
Sander
Black/dark aqua blue/brown acrylic paints
Thin and thick paintbrushes
Varnish

**All of these tools can be purchased at any craft or hardware store.

Step 1: Once you have found a thin piece of wood use the sander to sand it down to make sure it’s completely smooth. Next use a thick paintbrush and paint the entire piece of wood dark aqua blue.

Step 2: Once the paint is dry, dip your thick paintbrush into the brown acrylic paint. Dab the brown paint on the edges and corners of the piece of wood to give it a dark vintage look. Over coat the brown dabs with black paint and keep blending the colors together for an even spookier look.

Step 3: Now choose a set of crows that you’ve seen on the Internet or draw a set of you’re own. I found a set of crows online and then enlarged the photo as big as I wanted it to be. Then I used tracing paper and traced the crows from the computer screen onto the tracing paper. Once this step is completed, you can now use your transfer paper and place it onto the piece of wood with the crow pattern on top. Use a pencil and trace the crows onto the piece of wood. The transfer paper transfers  the crow pattern onto the piece of wood.

Step 4: Once the crow outline is on the piece of wood use a small paintbrush and paint the crows in with the black paint. Once the crows are painted and totally dry use your large paintbrush to paint a coat of varnish onto the painting. This allows the painting to look shiny and sealed! Once the varnish is dried you are all done your crow silhouette painting.

Any questions let me know guys!
Enjoy J