Showing posts with label Pretty. Show all posts

Wednesday, 26 February 2014

Signs 4 Sale!


Hey guys,

Check out some of the cool signs and décor my mom and I have been working on. We have sold a few signs already and are continuing to work steadily on the requested wedding décor. Again guys, if you want something made by us just email me! Esty coming soon!


Wedding Table Numbers

Tuesday, 29 October 2013

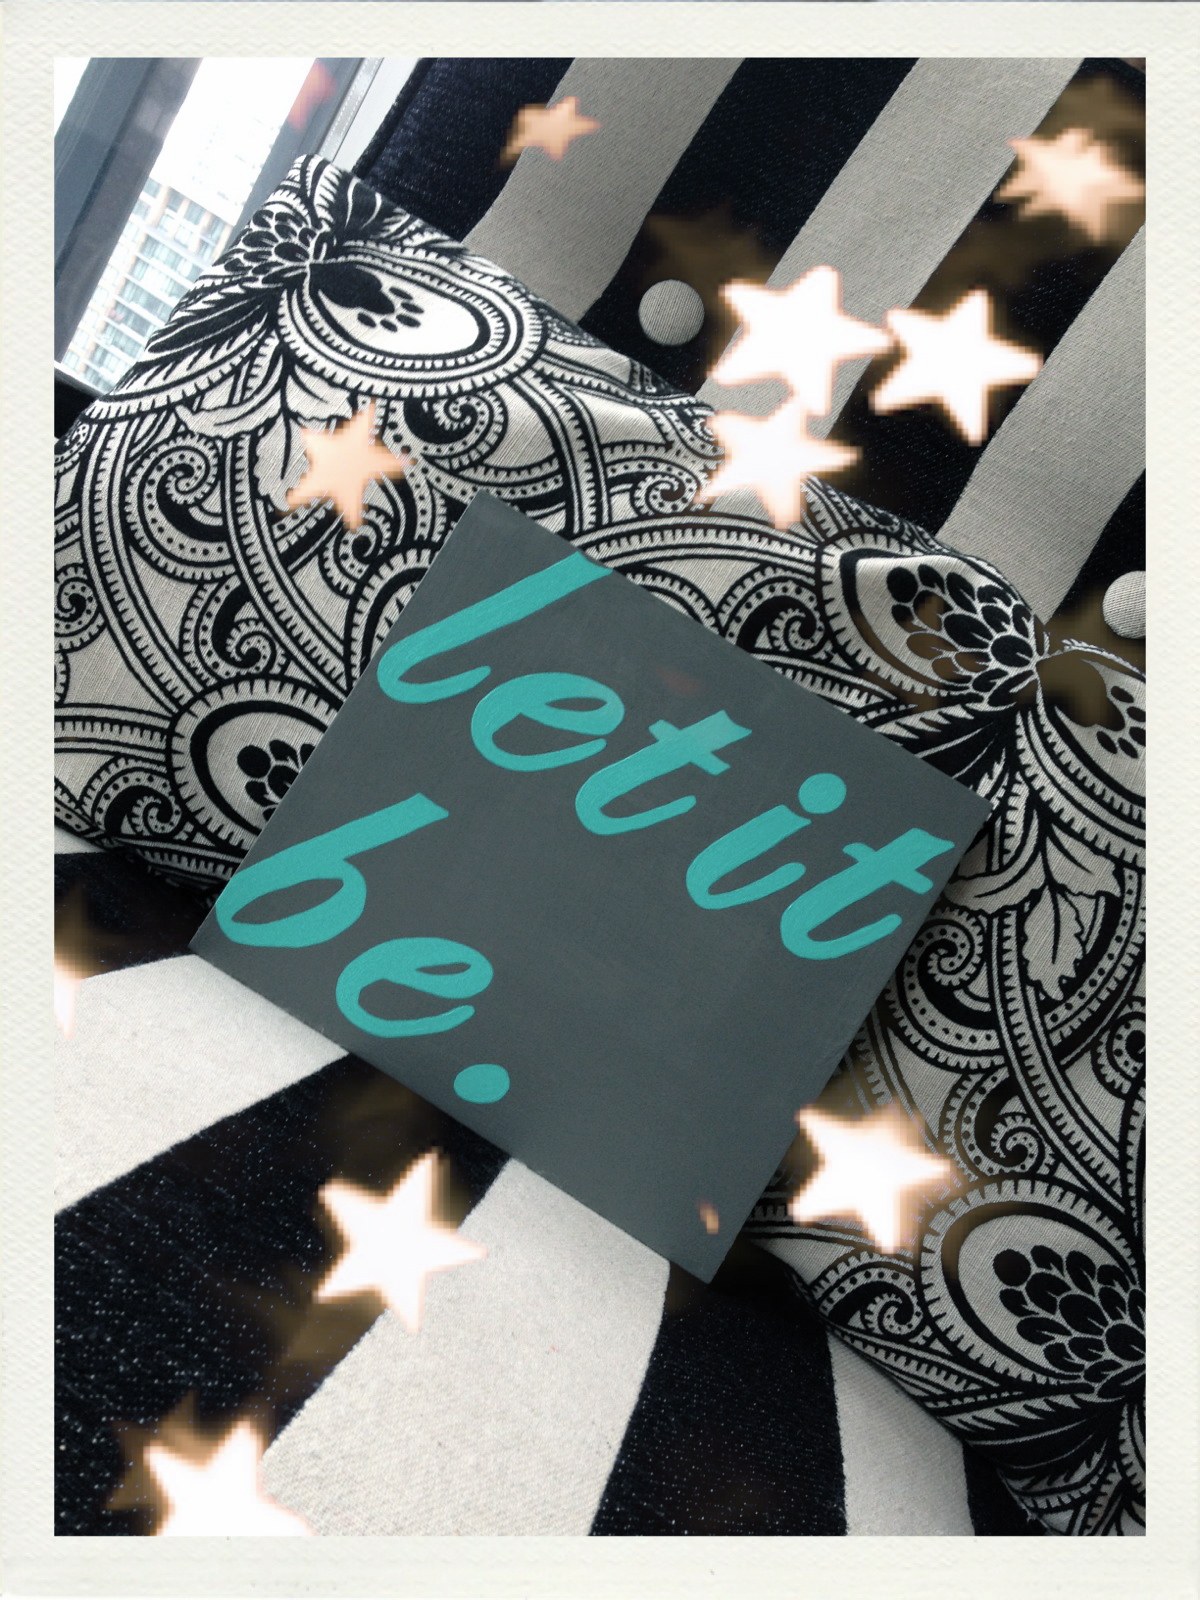
Diy Quoted Signage


Recently I have made a couple new witty signs for my apartment and I’m continuing to do so. These signs are so easy to create and are a lot cheaper then purchasing them from a home and décor store.

The supplies you will need to create these lovely signs are the following:
Acrylic paint
Paintbrushes
Any piece of wood
Sponge Sander
Computer
Printer
Paper
Carbon Paper (Transfer Paper)
Varnish
Hanging Hooks

**You can purchase these supplies at Michael’s Craft Store, Staples, Home Hardware, & a Lumberyard.

Step 1: First choose a quote that you would like to paint and the piece of wood you want to paint the quote onto. Take your sponge sander and sand down all the edges of the wood to create a smooth surface to paint on.

Step 2: Once all the surfaces are smooth you can now choose your background color and do 2 to 3 coats of paint.

Step 3: Once the background color is dry, print out your quote. I usually use a font from Microsoft Word. Once you have the quote printed and lined up on your board take your transfer paper and place it underneath the piece of paper your quote is printed onto. Now take a pencil and trace over the quote, the carbon paper will allow the quote to transfer onto the piece of wood.

Step 4: Once the quote is transferred onto the board you can now paint the quote. Just use a skinny paintbrush and paint within the lines. It’s really easy, just like coloring! Do 2 to 3 coats of paint onto the quote.

Step 5: Once the quote is completely painted and dried, take a large brush and some varnish and paint the entire board covering all edges. Do 2 coats of varnish. The varnish seals the paint into the board and gives the sign a shiny look.

Step 6: Once the varnish is completely dried, your sign is completed! You can now nail in some hanging hooks to the back of your sign, and hang your lovely quote.

BONUS: Use Q-tips and water to fix any mistakes when painting within the lines of the quote.

 Enjoy Guys! 

Saturday, 6 October 2012

P.S I Love You Mailbox


The mailbox I created was simple to do and fun, I loved the way it turned out!
I thought this mailbox would be perfect for wedding cards, or used as an actual mailbox.

DIY Mailbox Turtorial

Step 1: First you will have to puchase a plain mailbox from any hardware store or even from a garage sale. Mailboxes are usually around $20-30 dollars.

Step 2: The next step is to paint your mailbox black. I did this with black spray paint because it drys faster and doesn’t leave any brush storkes. You will also have to spray paint the screws, bolts, handles, and the piece that holds the flag up.
This is what your mailbox should look like after is has been spray painted.


Step 3: Now its time to put the quote onto the mailbox, this is done very easily. You will need transfer paper that is available at any craft stores. You will also need to print the quote onto a banner size using Microsoft word. The font size should be around 300, and you can choose any font style you prefer. Now you need to place the quote in banner size on the mailbox and tape it there so that it doesn’t move. Then slide a piece of transfer paper underneath the quote. Now, with a pencil trace the quote onto the mailbox. The transfer paper allows the quote to be transferred onto the mailbox.


This is what the quote should look like after its been trasfered onto the mailbox.

Step 4: Now that the quote is traced onto the mailbox you can start painting! You can choose any type of paint colors you would like but make sure its perm enamle paint. The colors I chose were grass green, sunny yellow, parry purple, and hot pink. Also use very fine, squared, paintbrushes, they will help you with the edging. They can be purchased at any craft store.

Step 5: Now, just take your time and paint in between the lines, just like coloring. Do 2 to 3 coats, until the quote looks bold.

Step 6: After painting the quote onto the mailbox, spray the mailbox with a clear coat of varnish. This pervents the paint from chipping and rusting, it also makes the mailbox look shiny! 


Tuesday, 25 September 2012

Diy Mason Jar Soap Dispenser Tutorial


This week I decided to create a cute Mason Jar Soap Dispenser; the most difficult part about creating the dispenser was finding the jar! I wanted to create a soap dispenser because we were really needed one for the kitchen sink and I thought it would be a much cheaper and cuter way to decorate the house, plus I love being able to reuse sweet things! These dispensers look great anywhere, also they can be made out of vodka mickey bottles for men’s bathrooms, garages, bars, and man caves!

Soap Dispenser Tutorial

Step 1: You need a Mason jar or any type of jar, a jar lid, soap pump from an old dispenser, scissors, a hot glue gun and soap. First place the jar lid on top of the jar, tighten the lid up. Carefully use the scissors to poke a whole big enough so that the soap pump will fit through tightly.

Step 2: Glue under the lid around the soap pump with the hot glue gun. This helps the pump stay in place. (The hot glue holds very well, mines still sturdy after a year.)

Step 3: After the hot glue has fully dried, add soap to the jar and tighten the lid back up, and PUMP ON!

EXTRA: I painted the lid of my Mason jar black to give it a nicer look; I did this by using spray paint. You can also use pretty paper or glitter for the lid to jazz it up.