
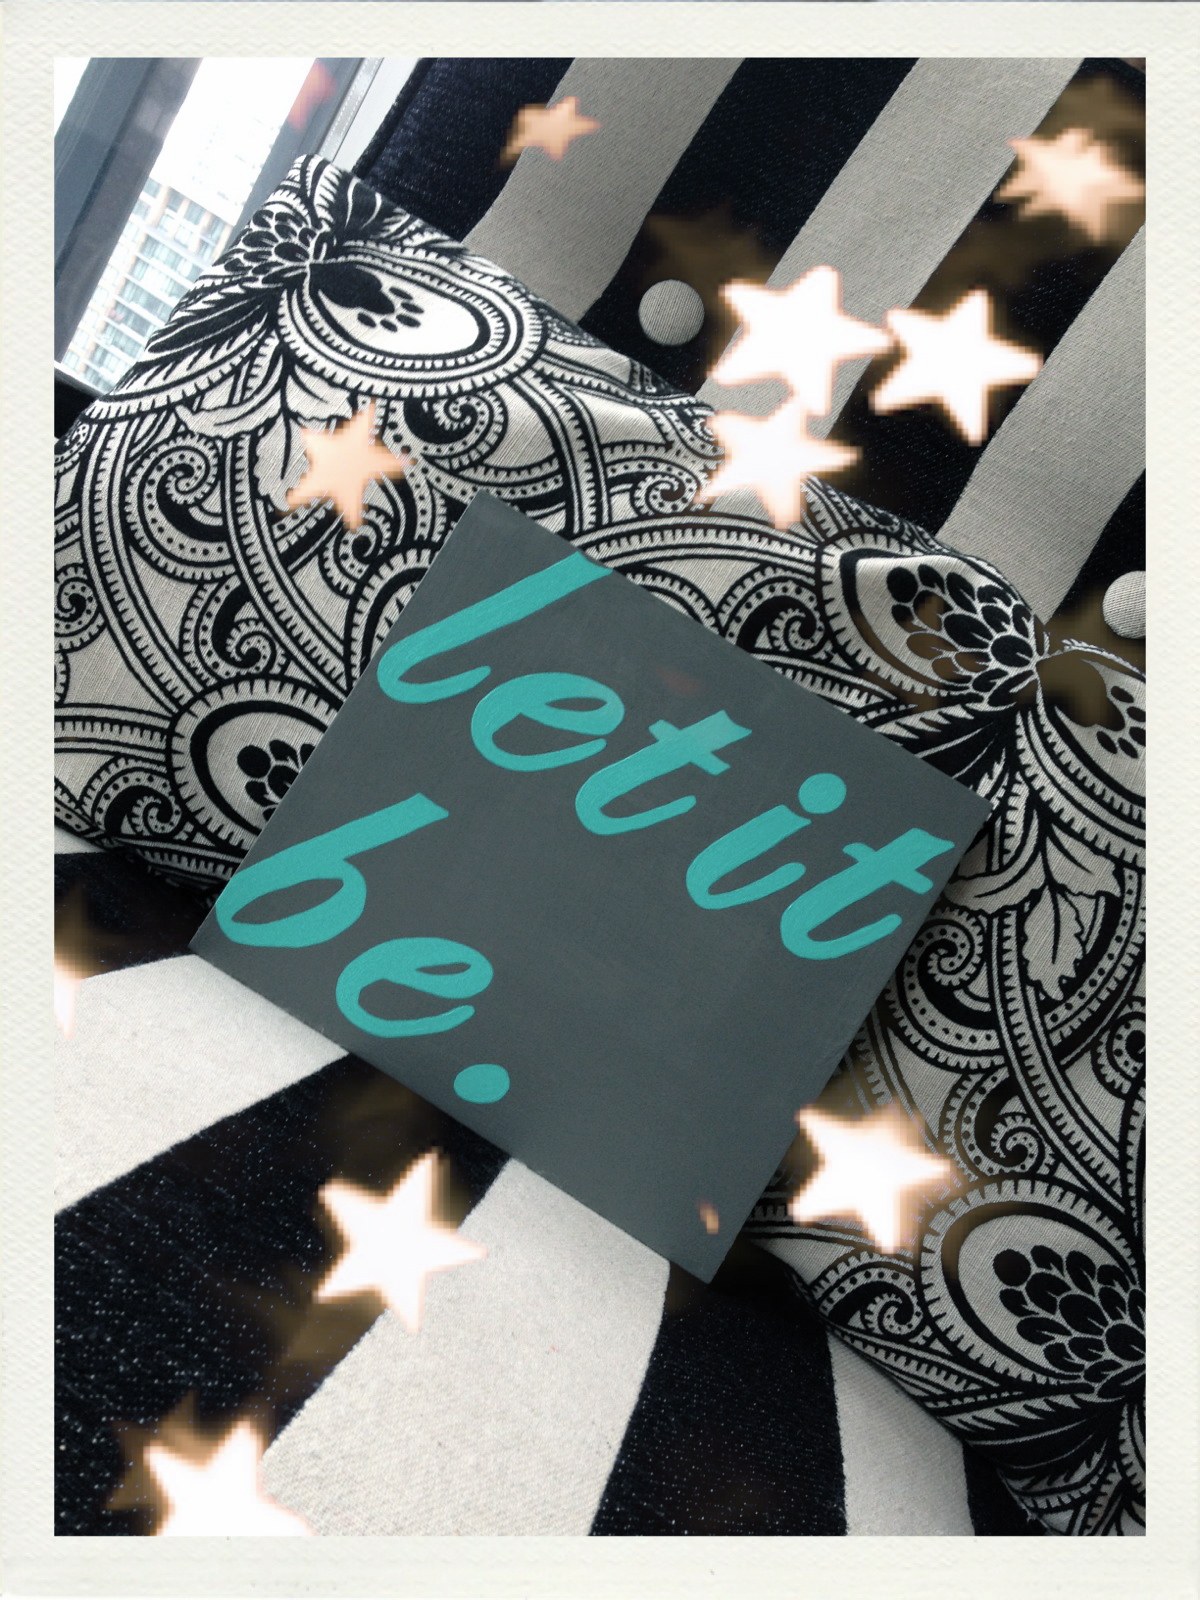
Recently I have made a couple new witty signs for my apartment and I’m continuing to do so. These signs are so easy to create and are a lot cheaper then purchasing them from a home and décor store.
The supplies you will need to create these lovely signs are the following:
Acrylic paint
Paintbrushes
Any piece of wood
Sponge Sander
Computer
Printer
Paper
Carbon Paper (Transfer Paper)
Varnish
Hanging Hooks
**You can purchase these supplies at Michael’s Craft Store, Staples, Home Hardware, & a Lumberyard.
Step 1: First choose a quote that you would like to paint and the piece of wood you want to paint the quote onto. Take your sponge sander and sand down all the edges of the wood to create a smooth surface to paint on.
 Step 2: Once all the surfaces are smooth you can now choose your background color and do 2 to 3 coats of paint.
Step 3: Once the background color is dry, print out your quote. I usually use a font from Microsoft Word. Once you have the quote printed and lined up on your board take your transfer paper and place it underneath the piece of paper your quote is printed onto. Now take a pencil and trace over the quote, the carbon paper will allow the quote to transfer onto the piece of wood.
Step 4: Once the quote is transferred onto the board you can now paint the quote. Just use a skinny paintbrush and paint within the lines. It’s really easy, just like coloring! Do 2 to 3 coats of paint onto the quote.
 Step 5: Once the quote is completely painted and dried, take a large brush and some varnish and paint the entire board covering all edges. Do 2 coats of varnish. The varnish seals the paint into the board and gives the sign a shiny look.
Step 6: Once the varnish is completely dried, your sign is completed! You can now nail in some hanging hooks to the back of your sign, and hang your lovely quote.
BONUS: Use Q-tips and water to fix any mistakes when painting within the lines of the quote.
Enjoy Guys!
No comments:
Post a Comment